If you’re planning to install solar panels on your roof, this guide will walk you through every step in easy-to-understand language so you can follow along step by step. How are solar panels mounted to the roof below:
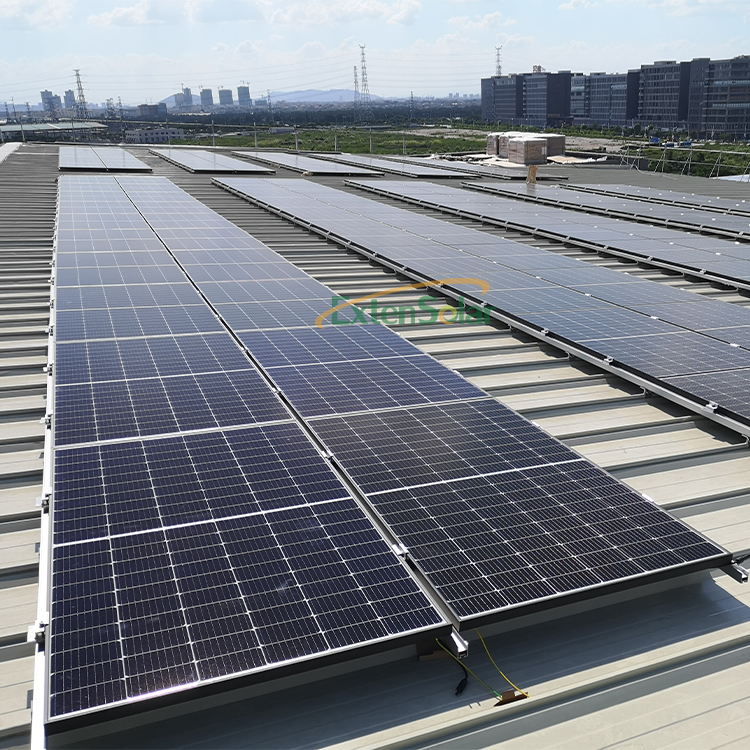 Step 1: Preliminary Inspection and Preparation
 Before you begin the installation, you need to lay the groundwork to avoid potential problems down the road. First, inspect the condition of your roof. Check how old it is and whether the structure is sound. Generally, if your roof is over 20 years old, it’s best to renovate or repair it before installing the panels. Otherwise, the roof may fail within a few years, forcing you to remove and reinstall the panels—a costly waste of money. You’ll also need to check the roof pitch: most residential solar systems work best on slopes between 15 and 40 degrees, as this angle allows the panels to capture the most sunlight. If your roof is too steep or too flat, you’ll need to adjust the mounting bracket angle to accommodate it. Next, verify the roof’s load-bearing capacity. Different roof types have varying load capacities: concrete roofs can generally support over 200 kilograms per square meter, making them perfectly suitable for standard solar systems; for wooden-framed roofs, you’ll need to check the strength of the beams and reinforce them in advance if they’re insufficient; for tile roofs, inspect the tiles for cracks or loose tiles, and replace any problematic ones first. Finally, assess potential shading. Observe the roof throughout the day to see if sunlight is blocked by surrounding trees, neighboring buildings, or chimneys. If shading occurs, either trim the branches or adjust the panel mounting position—shading significantly reduces power generation efficiency, so this must be addressed in advance.
Step 2: Design and Material Preparation Once the preliminary inspection is complete, proceed with the design and prepare the necessary materials. First is the system design. You’ll need to calculate exactly how many solar panels you require: generally, a standard 400-watt panel covers an area of about 1.7 square meters. You can determine the total power needed based on your monthly electricity consumption. For example, a household that uses 300 kWh per month would need a system of approximately 3 to 3.5 kilowatts, which equates to 8 to 9 400-watt panels. Next, plan the layout of the solar panels on the roof. Typically, we arrange them along the roof’s slope, leaving sufficient space for maintenance. Ensure there is at least a 30-centimeter gap between each row to facilitate future cleaning and inspections. Then, select all necessary materials: the three most important components are the solar panels, mounting brackets, and the inverter. Choose products that meet international standards, are guaranteed for quality, and have a lifespan of over 25 years. Mounting brackets are usually made of aluminum alloy or galvanized steel. These materials are resistant to rust and can withstand wind and rain outdoors, ensuring a long service life.
Step 3: Installation Process Once all preparations are complete, you can begin the actual installation. The first step is to install the bracket bases. First, locate the corresponding positions on the roof and mark the drilling points. When drilling, be careful not to damage the roof’s waterproofing layer. After drilling the holes, secure the base in place, then apply waterproofing to the drilled areas—typically by applying waterproof sealant and adding waterproof washers to prevent leaks during rain. The second step is to assemble the mounting system. Secure the mounting rails to the base, level and align them, then use a spirit level to verify the angle and levelness of the entire structure, ensuring that each solar panel is installed at the correct angle. The third step is installing the solar panels. Lift the panels one by one onto the roof, taking care to handle them gently to avoid damaging the tempered glass. Secure each panel to the rails, ensuring all mounting screws are tightened to prevent the panels from being blown off by strong winds. Leave a small gap between adjacent panels to accommodate thermal expansion and contraction and prevent damage. Step 4 is wiring. Connect the cables between the solar panels, then connect the main cable to the inverter. When wiring, be sure not to reverse the positive and negative terminals. Wrap all connection points with electrical tape to prevent electrical leakage. Secure all cables to the mounting brackets to prevent them from swinging and wearing through the insulation. Step 5: Waterproofing Inspection. After the entire system is installed, inspect all drilled holes to ensure they are properly sealed. You can also pour some water over the area to test for leaks; if any are found, repair them immediately.
Step 4: Grid Connection, Commissioning, and Acceptance After installation, proceed with commissioning and acceptance testing. First, perform an insulation test before wiring. Use a testing instrument to measure the circuit’s insulation resistance. Only after confirming there are no short circuits or electrical leaks should you connect to the grid. Next, start the inverter and configure the parameters. The inverter will automatically monitor the system’s operational status. Observe the system for several hours to ensure power generation is normal and that the voltage and current readings are accurate. Afterward, apply for acceptance by the grid operator. Once approved, you can officially connect to the grid and begin generating electricity. Once the system is operational, you can use the inverter’s app to view daily power generation and monitor the system’s status.
Post-Installation Maintenance Guidelines Once the solar panels are installed, daily maintenance is straightforward—simply follow these steps:
Regular Cleaning: Generally, clean the panels once every six months to a year. If your area is dusty or receives little rainfall, clean them more frequently. Use only clean water for cleaning; avoid hard brushes or chemical cleaners to prevent scratching the glass.
Regular Inspections: Check once a year to ensure screws are tight, wiring is not deteriorated, and the mounting brackets are not rusted. Address any issues promptly.
Clear Obstructions: If leaves or branches fall onto the panels, remove them immediately to prevent blocking sunlight.
By following the steps above, your solar panel system will operate reliably for many years, continuously providing you with clean electricity.


